Your cart
There are no more items in your cart
Home Blog News & Updates Garden Shed - Easy Assembly & Installation
Categories :
News and updates
How to Install a Garden Shed: Easy Assembly and Setup
Installing a garden shed: regulations and choosing the location
Before any construction begins, two points must be settled: the applicable regulations and the right location. These two points determine the model chosen, the ground preparation, and the concrete conditions of the installation.
What administrative steps are needed before installing a shed?
To install a garden shed in France, the formalities depend on the ground surface area. Before assembly, check your municipality's local urban plan (PLU): it specifies the local rules on the plot, height, boundary lines, and sometimes exterior appearance.
- Less than 5 m²: no administrative formality required, installation can proceed without a declaration.
- Between 5 and 20 m²: a prior works declaration must be filed with the town hall before installation.
- Over 20 m²: a building permit becomes mandatory, as with the Vernier model (34.84 m²) available at garden shed installation.
In addition, some municipalities regulate the maximum height, particularly for flat roofs. Setback distances from property boundaries should also be checked carefully: 3 metres of distance, 2.5 metres to the gutter, and 3.5 metres to the ridge are common requirements, unless there is written agreement from neighbours.
How to choose the right location for your garden shed?
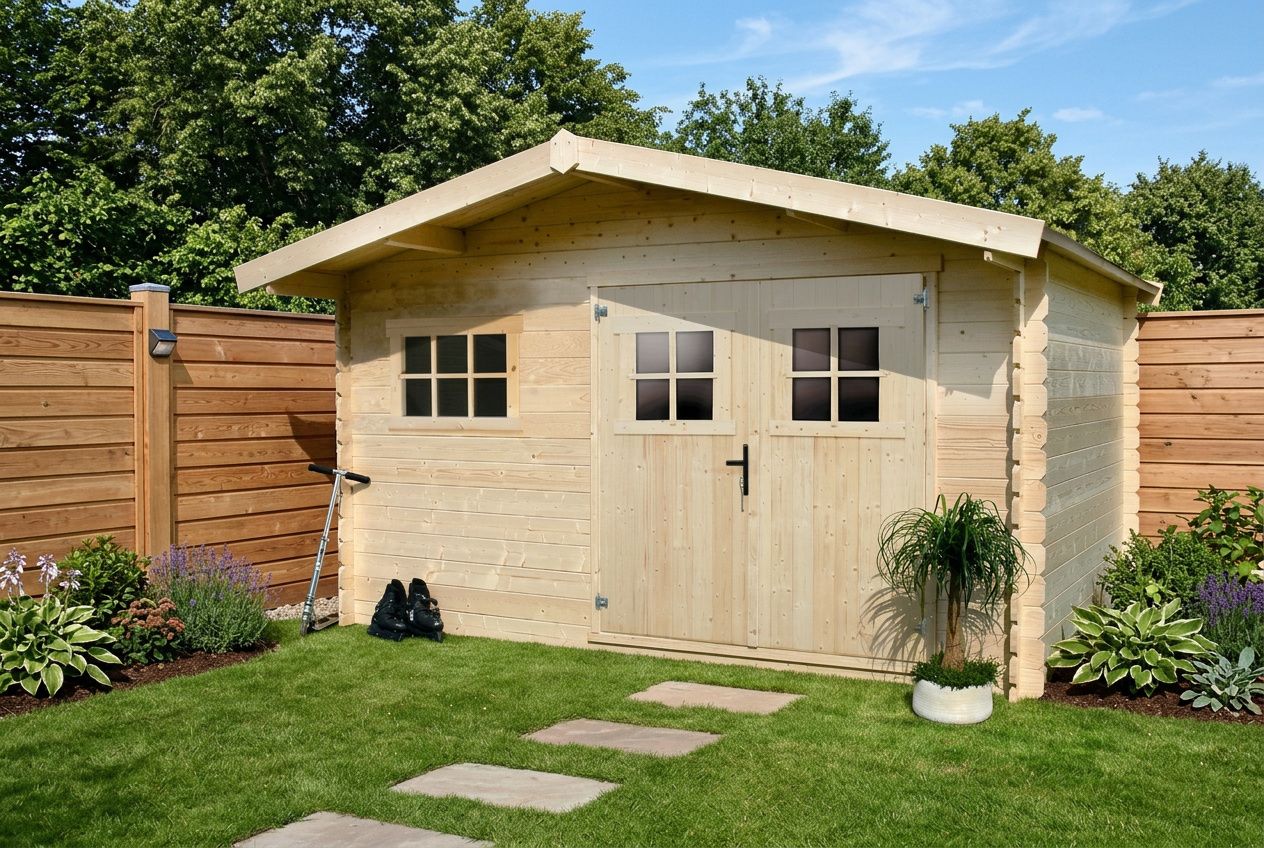
The location isn't just about finding a free corner of the garden. In practice, for your garden, you need to weigh up accessibility, sun exposure, and ground type in order to make installation, and later everyday use, easier.
Choose a stable, clean, and well-drained area. Flat ground makes shed assembly easier, limits adjustments during construction, and keeps the doors opening smoothly over time.
Depending on how your space is laid out, the edge of the garden or a corner against the house often gives a coherent result. Conversely, a spot that's too low-lying or damp encourages rising damp and complicates preparing the site.
An open area is easier to maintain and allows comfortable movement for tools, a lawnmower, or bikes. As soon as the surface allows, leave at least a metre of clearance on each side to manoeuvre the panels during assembly.
A wooden garden shed naturally fits into a green setting. A well-prepared site then makes it easier to add storage, shelving, and other useful fittings for everyday use.
Preparing the foundations: with or without a concrete slab
Everything starts with proper ground preparation: weeding, removing stones, roots and debris, then checking the level across the whole future base. This step determines the quality of the whole installation: an unevenness of just a few centimetres is enough to throw off the alignment of the panels and weaken the structure.
Installing a garden shed without a slab: what alternatives are there?
Installing a garden shed without a slab remains possible if the ground is sound, stable, and well-drained. Depending on how your space is laid out, several types of support can provide a reliable base without pouring a full concrete slab, provided the levelling and alignment are done carefully before laying the floor.
- Concrete blocks on a sand bed: buried and spaced about 30 cm apart, they aid water drainage while forming a firm base for the floor and panels.
- Concrete piers or gravel slabs: laid on a bed of sand and gravel, they offer a durable, tidy solution that can be repositioned if needed.
- Anchor posts on bare ground: holes at the four corners receive the supports, wedged with stones and concrete, creating garden shed foundations suited to unsurfaced ground.
These solutions are mainly suited to small or medium-sized structures. For installing a larger or heavier shed, on the other hand, a slab remains the benchmark: it improves stability, simplifies anchoring, and provides a continuous surface for securing the shed under good conditions.
How to pour a concrete slab for your shed?
For garden shed foundations on a concrete slab, you first need to dig out the ground to a depth of about 20 cm, marking out the area precisely with stakes and string. Once the ground has been cleared, the soil is compacted before pouring. Allow at least 10 cm of thickness for the concrete slab, or rather 15 cm if the garden shed is heavy.
It's best for the concrete slab to extend slightly beyond the outer dimensions of the structure: the base is more comfortable and the panels go on more neatly. In practice, for your garden, also plan for water drainage around the base to avoid any pooling under the floor and on the shed's ground.
Fixing and anchoring depending on the type of support
On a slab, fixing is generally done with metal brackets or threaded rods bent into an L-shape, installed at the four corners and then secured with a metal plate and lock nuts.
On concrete blocks or piers, installation requires the same precision: the structure can either rest directly on the base or be anchored with brackets connected to the load-bearing frame. Habitat et Jardin offers galvanised steel fixing kits suited to several configurations, to limit adjustments on site.
Once installed, checking the level remains essential. The floor of the shed must be perfectly horizontal, checked with a straight edge and a spirit level, before laying the flooring: just a few millimetres of variation is enough to complicate assembly, distort the panels, and weaken the whole structure. The same logic applies as with siting: the quality of the anchoring depends above all on a clean base and well-executed foundations.
Assembling the garden shed step by step
Once the foundations are ready, assembly can begin. For a large garden shed, working as a pair clearly changes the pace: generally allow one day working as a pair, versus around three eight-hour days solo. The difference often comes down to handling the panels, which is simpler and safer with two people.
Preparation and inventory of parts before assembly
Assembling the garden shed starts with thorough preparation. Check each part received against the instructions, piece by piece, to avoid a missing item halting construction midway through the assembly steps.
With wood, a slight variation in dimensions is possible: spruce contracts or expands depending on ambient humidity. So keep your tools close at hand: at least a spirit level, brackets, and a screwdriver, to keep moving without interruption.
Assembling the walls, frame and roof
The right approach hinges on the order of the steps. First install the floor by placing the floor frame on the foundations, then check the diagonals to get a good square. A misalignment at this stage carries through to the whole structure.
Continue with the walls, starting from one corner. Hold the panels temporarily with props, work clockwise, and check plumb at each level before fixing them permanently. In addition, reinforce the joints with metal brackets before installing the frame.
The roof comes last. On a wooden model like the Vernier, the frame rests on 16 mm battens with a 14° slope, designed to bear a snow load of 75 kg/m². Lay the covering from bottom to top: watertightness depends directly on the elements overlapping correctly.
Installing the shed's door and windows
The 1.73 × 1.28 m "low entry" double door and the two windows are fitted once the walls have been stabilised. Carefully adjust each frame to ensure smooth opening and good sealing at the joints. This phase requires precision above all: a slightly misaligned frame compromises the seal at the joints.
The acrylic glass panels stand up well to knocks. The lock includes a child-safety feature to prevent accidental locking-in. Then adjust the hinges after fitting to achieve a neat alignment.
Assembling a metal, wooden or resin garden shed: the differences
The material genuinely changes how a garden shed is installed. The right approach hinges on ground preparation, the tools needed, the type of panels, and how the shed is fixed down.
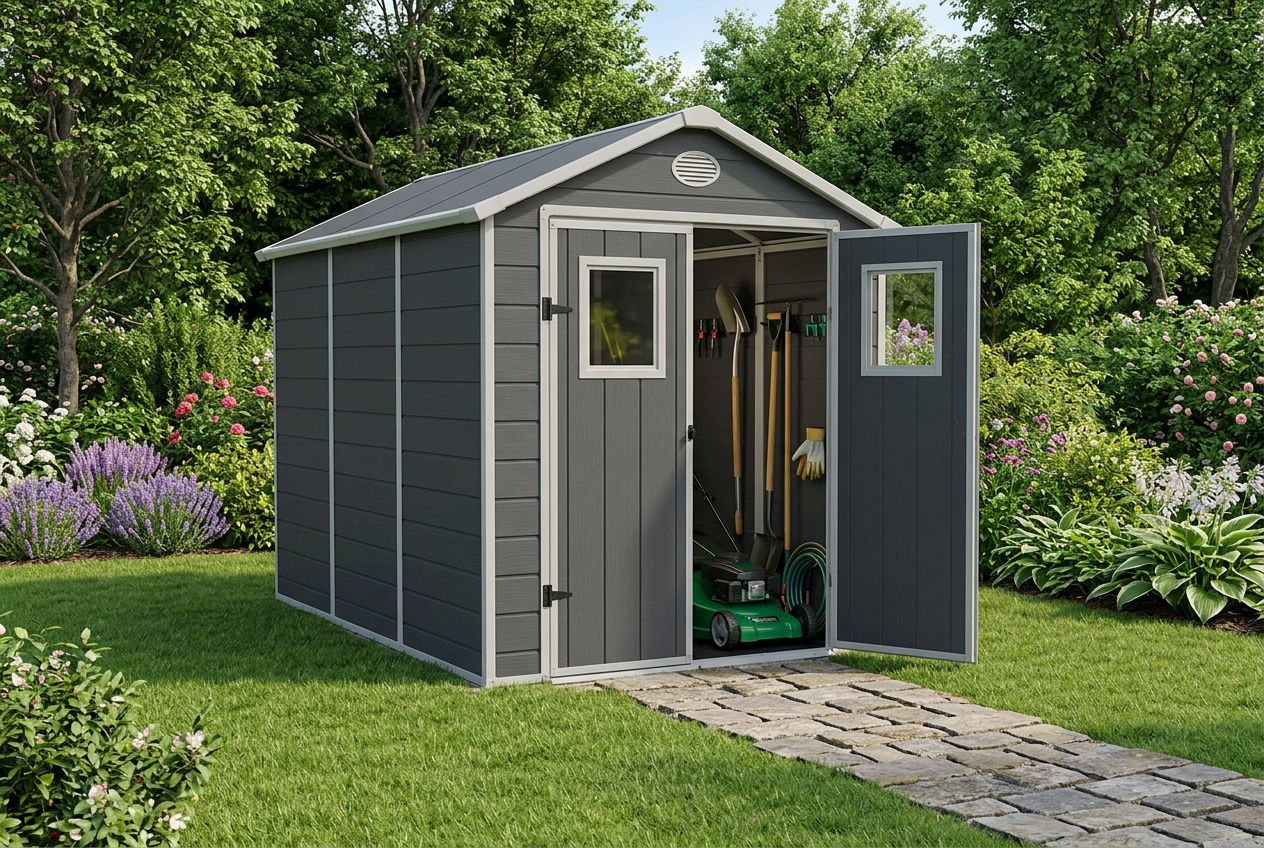
| Material | Specific preparation | Assembly | Fixing to the ground |
| Wood | Insecticidal and fungicidal wood stain before assembly | Screws and connectors, 28 mm spruce panels | Brackets on slab or concrete blocks |
| Metal | Gloves required, sharp edges | Clips or screws on rails | Brackets or threaded rods |
| Resin | Perfectly level ground, dry weather | Interlocking, following the instructions closely | Depends on kit supplied |
Installing a metal garden shed: method and tips
To install a metal garden shed, the first step remains simple: lay out all the parts on the ground, check the instructions, and make sure the ground is level.
The difference often lies in safety and the assembly order. Gloves are essential, as edges can be sharp, then the walls go together with clips or screws before the roof is fitted. Once everything is stable, the shed needs to be fixed to a slab or a suitable base with brackets or threaded rods.
Specifics of wood and resin assembly
To install a wooden garden shed, one extra step is added before assembly: treating the inner faces, floor and roof with an insecticidal and fungicidal protection. On a spruce garden shed, two coats of stain on the outer face boost durability: the total surface to be treated can reach 34.84 m² depending on the model.
Resin, on the other hand, needs less treatment but more attention to siting: the ground must be perfectly stable, dry, and level, since the interlocking joints cope poorly with variations. To install a garden shed in this material, strictly follow the order set out in the instructions: the panels are designed for precise assembly, with no improvised adjustments.
Finishing touches, protection and maintenance of your garden shed
Once installation is complete, the finishing touches ensure the garden shed's longevity: the difference often comes down to a few precise touches on the panels and roof. Habitat et Jardin recommends a systematic check of the sensitive points to guarantee another season with less intensive maintenance.
Essential finishing touches after assembly
The quality of the seals applied right after assembly determines watertightness in the long run. Running a bead of outdoor silicone along every join between panels, around the joinery, and at the roof corners locks everything in place. Once installed, check the level of the hinges: fine-tuning them prevents strain on the door.
- Silicone seals: to be applied without a break between the panels, around the windows, and at the roof joints.
- Metal gutters: worth adding as soon as the surface area allows. They keep water away from the foundations and make collecting rainwater easier.
- Under-roof ventilation: essential to prevent condensation, especially when the shed is used to store tools or boxes.
- Screws and hardware: checking that everything is properly tightened keeps the whole structure secure through the seasons.
In practice, for your garden, regularly clearing leaves from the roof prevents overloading and moisture build-up. On a bituminous covering, a gentle sweep once a year is enough to maintain watertightness.
Garden shed maintenance: targeted actions by material
Wood, metal, and resin don't call for the same care. For a wooden model, two coats of insecticidal and fungicidal stain, applied 24 hours apart, seal the fibres. Light sanding before each new coat lets the grain breathe while still keeping water out. Renewal should be planned every two years.
A resin shed, on the other hand, only needs a hose-down, without a scrubbing brush. On metal, gentle washing followed by a light polish limits dulling: any scratch should be touched up right away to prevent corrosion from starting.
Whatever the material, lubricate hinges and locks, check the level of the doors, and clean the acrylic glazing with a neutral soap. The same logic applies as with the choice of structure: keeping up these checks regularly extends the shed's lifespan and limits major repairs.
Frequently asked questions
Is it compulsory to declare a garden shed to the town hall?
It all depends on the ground footprint of the garden shed. Below 5 m², no formality is required. Between 5 and 20 m², a prior works declaration is required; above 20 m², a building permit is needed.
In addition, check your municipality's local urban plan (PLU) before settling on your project's final layout: some zones set precise rules on height, materials, or the distances to be kept from property boundaries.
How do you install a garden shed without a concrete slab?
It's entirely possible to assemble your garden shed without a slab. The right approach hinges on how stable the ground is, drainage, and the weight of the kit shed. Buried concrete blocks on a sand bed, spaced about 30 cm apart, form a simple, stable base.
Depending on the case, gravel-topped concrete piers laid on sand and gravel offer durable support, with the advantage of being easier to reposition. For a small model, anchor posts set at the four corners with stones and concrete can also work well.
Before assembly, the support must be perfectly level: checking with a string line or spirit level is enough. Once the floor is laid and checked, the wall panels can be fixed in the order set out in the instructions.
How long does it take to assemble a garden shed?
Assembly time mainly depends on the size, the type of kit shed, and how many people are helping. With two people, a standard model is usually assembled in one day. In practice, for your garden, a small storage shed can often be put up alone in half a day.
For a large format like the 34.84 m² Vernier, allow more like three eight-hour days working solo. Working as a pair, on the other hand, makes the job noticeably easier: some walls or frame parts need to be held in place during fixing, which a second pair of hands makes considerably safer.