Your cart
There are no more items in your cart
How do you build a pergola in your garden?
Categories :
Bioclimatic pergola
, Garden
, Garden trends
, Practical Guides
, Trends & Inspiration
Do you dream of an outdoor space where you can enjoy your garden whatever the weather, without compromising on comfort or style? A pergola is undoubtedly the most versatile and on-trend solution available today. But with so many different models, materials, sizes and installation options to choose from, it’s easy to feel overwhelmed.
In this comprehensive guide, we answer all the questions you might have before buying: which model to choose, how to install it, how much it costs and how to make the most of it in your day-to-day life.
What is a bioclimatic pergola, and why is it different?
Before we talk about design, let’s cover the basics. A bioclimatic pergola isn’t like other pergolas. Its key feature is its adjustable aluminium slats, which adapt to the weather conditions.
- Intense sunshine? Close the slats to create shade.
- A light breeze? You open them slightly to let the air circulate.
- Rain? The slats close tightly to protect you.
The result: your outdoor space becomes usable all year round, not just on those rare sunny days. This is the key advantage that explains the phenomenal success of this type of structure in recent years.
Good to know: unlike traditional wooden pergolas with stretched canvas, the bioclimatic pergola requires virtually no maintenance. Aluminium structures do not rust, do not warp and can withstand heavy snow loads.
Attached or freestanding pergola: which configuration should you choose?
This is the first question to decide before making any purchase.
The bioclimatic attached pergola: the most popular solution
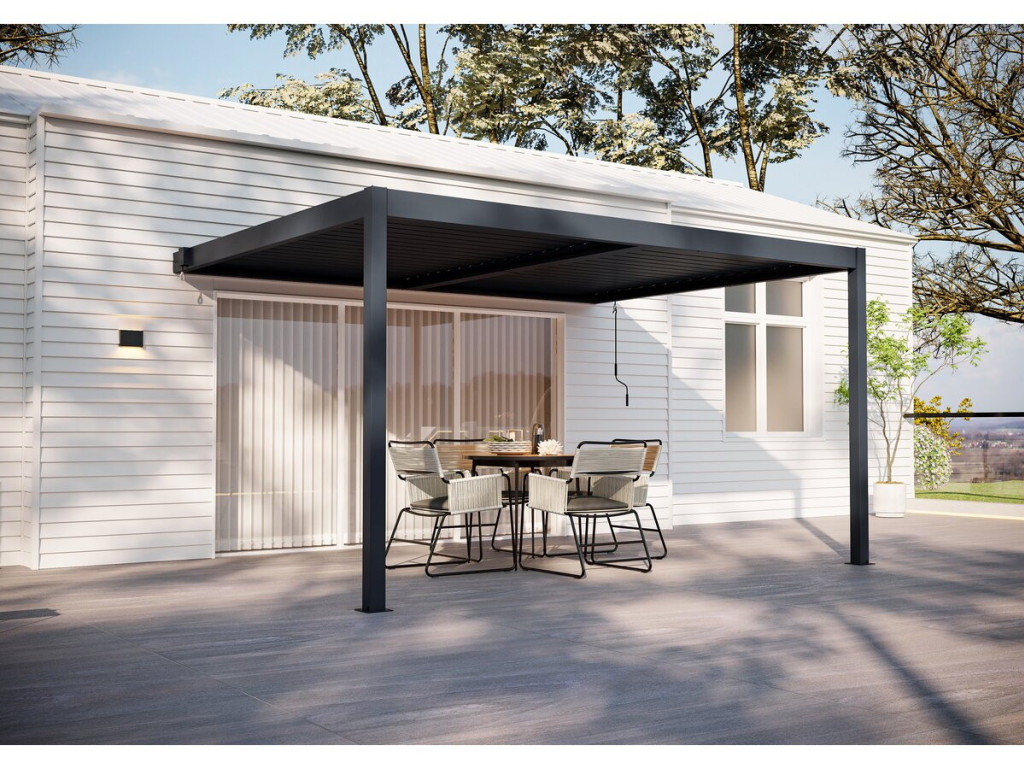
A bioclimatic lean-to pergola rests directly against the wall of your house. It requires only two or three posts at the front and uses the façade as a fourth supporting ‘wall’.
Its advantages:
- More affordable: fewer materials = substantial savings
- Architectural integration: it naturally extends the house into the garden
- Simplified installation: secure and quick wall mounting
- Space-saving: ideal for medium-sized gardens
Who is it for? It’s the ideal choice if you want to create a covered terrace directly accessible from your living room or kitchen. It creates a seamless transition between indoors and outdoors.
Points to note:
- Check the strength and orientation of the load-bearing wall
- Ensure there is a rainwater drainage system (with or without an integrated gutter)
- Comply with statutory distances from property boundaries
The freestanding pergola: total freedom in the garden
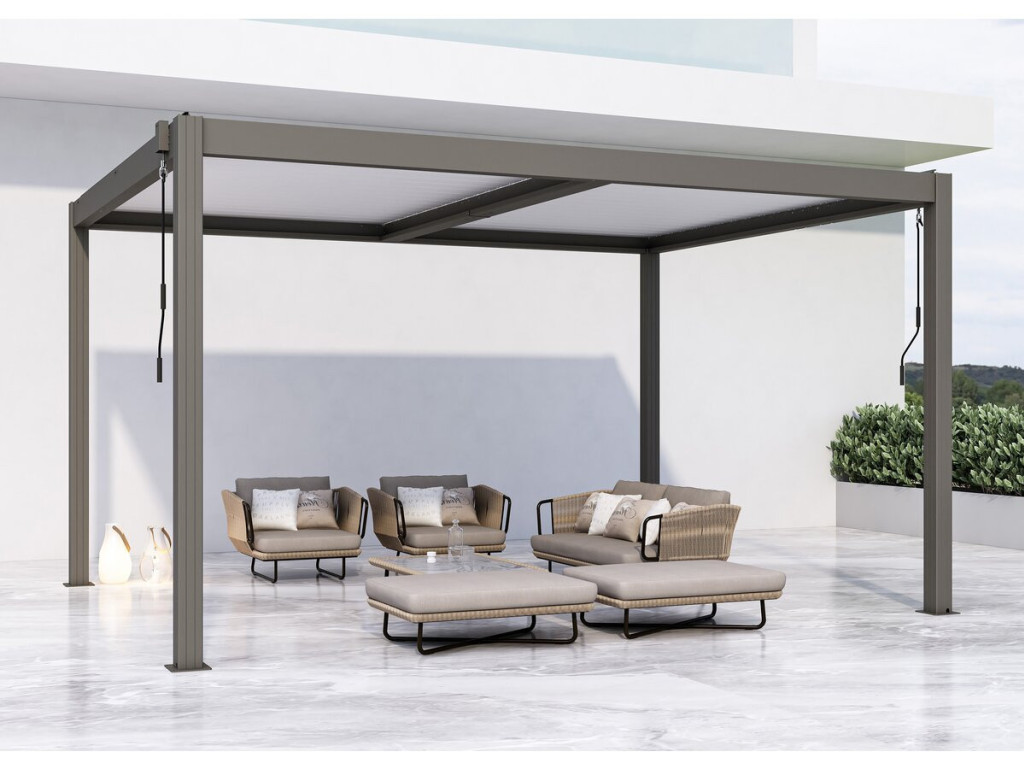
It rests on four posts and can be installed anywhere in your outdoor space. Although more expensive, it offers complete flexibility in terms of location.

What size pergola should you choose? The specific example of the 4x3 bioclimatic pergola
Size is a key decision. It shouldn’t be too small (you’ll feel cramped) nor too large (it will overwhelm the garden or exceed your budget).
The 4x3 bioclimatic pergola: the standard size
The 4x3-metre size (12 m²) is the best-selling in France, and that’s no coincidence. Why is this size so popular?
| Needs | Is the 4x3 suitable? |
|---|---|
| Family meals (4 to 6 people) | Yes, comfortably |
| Lounge-style garden furniture | Ideal |
| Table + relaxation area | Possible with a good layout |
| Frequent parties (10+ people) | A bit tight; 5x4 would be better |
| Small city garden | Perfect |
A handy rule of thumb: allow around 1.5 to 2 m² per person for a dining area, and 2.5 to 3 m² for a lounge area. A 4x3 pergola is therefore perfect for 4 to 6 people.
How do you measure your space correctly?
- Mark out the area on the ground with masking tape or string before you buy
- Leave 50 cm of clearance on the open sides to move around comfortably
- Check the height: a standard pergola is between 2.30 m and 3 m from the ceiling — enough for fairy lights or a fan
How can you find an affordable bioclimatic pergola without compromising on quality?
That’s the question everyone’s asking, and it deserves an honest answer.
The real differences in price
Prices for bioclimatic pergolas vary enormously: from €2,000 to over €15,000 depending on the model. Here’s what accounts for these differences:
| Criterion | Entry-level | Mid-range | Top-of-the-range |
|---|---|---|---|
| Aluminium thickness | 1.2 to 1.5 mm | 1.8 to 2 mm | 2.5 mm and above |
| Slats motorisation | Manual or basic | Remote control included | Home automation, weather sensors |
| Water drainage | Basic guttering | Integrated into the posts | Fully watertight system |
| Warranty | 2 to 5 years | 5 to 10 years | 10 years and over |
| Options | Limited | Lighting, blinds | Fully integrated |
Tips for finding a good-quality, affordable bioclimatic pergola
- Opt for powder-coated aluminium: it offers much better resistance to corrosion than untreated aluminium, at a very reasonable price.
- Compare the weight of the structure: a heavier frame generally means more aluminium, and therefore greater strength. Be wary of very lightweight models at attractive prices.
- Check the load-bearing capacity: a good bioclimatic pergola must support at least 100 kg/m² (snow) and withstand winds of 120 km/h.
- Opt for the complete assembly kit: some low prices conceal hidden costs (hardware, screws and wall fixings sold separately).
- Promotional periods: the winter sales (January–February) and end-of-season sales (October) are the best times to find significant discounts.
What to avoid at all costs: galvanised steel pergolas sold at rock-bottom prices. They rust, warp over time and are a false bargain in the long run.
How to install your bioclimatic pergola step by step?
You’ve chosen your model. Now it’s time to get setting it up! This is where it all comes down to creating a real living space.

Step 1: Prepare the ground
The ground beneath your pergola must be:
- Well-draining if you opt for gravel or paving slabs on pedestals (to prevent puddles)
- Level and stable for installing the posts (concrete or foundation blocks)
- Aesthetically pleasing: outdoor tiles, composite decking, exposed aggregate concrete… the surface covering must be chosen before the posts are installed
Our advice: composite timber (decking boards) is the most commonly used material under bioclimatic pergolas. It adds warmth, does not get too hot and withstands damp.
Step 2: Install the lighting
Don’t overlook the lighting: it completely transforms the atmosphere in the evening. The most popular options are:
- LED spotlights recessed into the posts: discreet and highly effective (often offered as an option by manufacturers)
- Fairy lights: hung from the closed slats, they create a festive and cosy atmosphere on a shoestring budget
- LED strip: to be fixed around the edge underneath the structure for indirect, modern lighting
- Solar lanterns: no wiring required, ideal as an added touch
Step 3: Think about adding greenery
A pergola without plants lacks life. Here are a few ideas to adorn your structure:
- Wisteria: spectacular spring blooms, fragrant, but slow-growing
- Virginia creeper: covers the structure quickly, red foliage in autumn, very hardy
- Climbing rose: romantic and fragrant, ideal for the sides of the structure
- Clematis: long flowering season, available in many colours
Warning: never allow a plant to grow directly onto the motorised slats of a bioclimatic pergola. Provide taut cables or a side trellis to guide the plants.
Step 4: Enclose the sides as required
The bioclimatic pergola provides protection from the rain from above. But what about the sides? Options depending on your budget and requirements:
- Side roller blinds: the most flexible solution, offering both sun protection and a view
- Sliding glass panels: completely enclose the space, ideal for extending the growing season
- Outdoor fabric curtains: cost-effective, good privacy
- Wooden or aluminium privacy screens: fixed, good privacy but less versatile
Step 5: Furniture and accessories
Choose furniture that is suitable for outdoor use but just as comfortable as indoor furniture:
- Tables and chairs made from woven resin, aluminium or teak: sturdy and stylish
- Outdoor sofa: with UV- and moisture-resistant cushions
- Heating: a hanging infrared lamp or a freestanding brazier to extend use into the autumn
- Outdoor ceiling fan: can be fitted directly to the structure, essential in summer
Bioclimatic pergola: regulatory issues not to be overlooked
Before placing an order, make sure you comply with the current planning regulations.
Prior notification or planning permission?
| Area | Required procedure |
|---|---|
| Less than 5 m² | No formalities (as a general rule) |
| Between 5 and 20 m² | Prior notification of works |
| More than 20 m² | Planning permission |
| In a protected area (ABF) | Consultation required regardless of the area |
These rules vary from one local authority to another. Always check with your local council before starting any building work.
Distances from neighbours
As a general rule, an open pergola must be set back at least 3 metres from the property boundary, and further back if it is enclosed. Check your Local Urban Planning Scheme (PLU).
Summary: where to start?
To summarise, here is the most logical approach to successfully installing your bioclimatic pergola:
- Decide how you’ll use it: for meals, relaxation or entertaining?
- Choose the layout: attached or freestanding?
- Set your overall budget (structure + installation + fittings)
- Select the size that suits your space and needs
- Check the regulations with your local council
- Plan the fit-out before delivery (flooring, electricity, lighting)
Discover our bioclimatic pergolas | 4x3 bioclimatic pergola | Pergola accessories and lighting | Awnings and side screens