Your cart
There are no more items in your cart
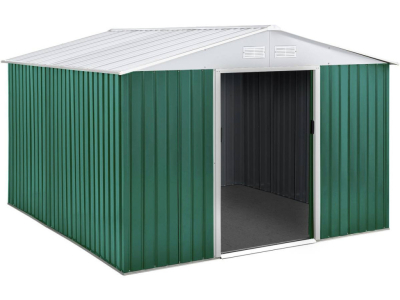
Metal garden shed: how to install it successfully
Categories :
Garden
, Garden shed
, Practical Guides
The bracket is sized according to the model; the frame is fitted in accordance with the instructions; and the time required varies depending on whether you are installing it on your own, in pairs or with a professional.
Permits required prior to installation
Before preparing the site, check the regulatory requirements. The regulations specify the surface area of the metal shelter and its location: the required formalities, and any applicable tax liabilities, are directly determined by these factors.
Permit thresholds
There are three surface area thresholds that determine the procedures, whether based on footprint or floor area:
- Up to 5 m²: generally exempt from formalities, except in specific cases such as protected areas.
- From 5 to 20 m²: a prior declaration must be submitted to the local council.
- Over 20 m²: a planning permission is required.
These thresholds apply to all garden sheds, regardless of the materials used. Details of the documents required are set out in the planning procedures for a garden shed, which also specify how to submit the application.
Local planning regulations
The location may impose stricter requirements than these thresholds. In a protected area, a garden shed with a footprint and floor area each not exceeding 20 m² requires a prior declaration, even if the floor area is less than 5 m².
The Local Urban Development Plan (PLU) may then set out requirements regarding the location, external appearance, materials and distances from neighbours. In the absence of local regulations, the shelter must be situated on the property boundary or at least 3 metres from it.
In housing estates, the development specifications apply in addition to these rules. In block-of-flats developments, the regulations may require authorisation for a shelter of less than 5 m² situated on a common area for private use.
Planning tax
Structures of up to 5 m² are automatically exempt, whilst a shelter larger than 5 m² that requires authorisation may be subject to tax. Since 1 January 2026, Law No. 2026-103 of 19 February 2026 has allowed local authorities to grant full or partial exemption for non-commercial shelters up to 20 m², without any conditions relating to prior declaration.
The calculation is based on a flat-rate value, before local rates and exemptions. The official calculator and your local authority will provide the actual amount due.
| Zone | Flat-rate value 2026 | Application |
| Outside Île-de-France | €892/m² | Before local rates and exemptions |
| Île-de-France | €1,011 per square metre | Before local rates and exemptions |
Foundations for the shelter
Soil preparation determines the stability of the sheet metal, the alignment of the doors and resistance to damp. It involves three stages: choosing a level site, creating a well-drained base, then laying the slab or an alternative foundation.
Choosing and levelling the site
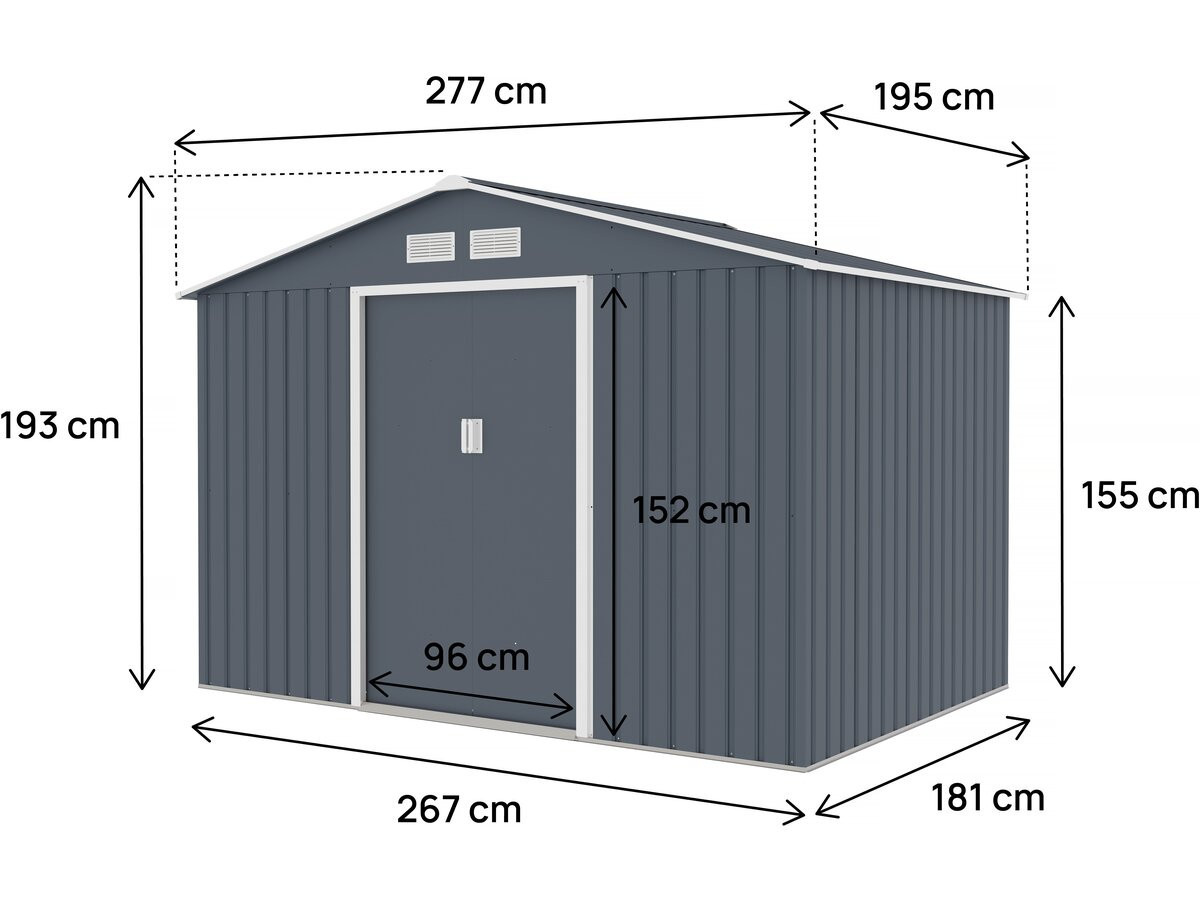
Habitatetjardin recommends a stable, clean and well-drained area, away from places where water collects. Then mark out the exact dimensions of the shed on the ground, taking the following criteria into account:
- Clearance: sufficient space to open the doors and maintain the external walls.
- Soil type: lawn, bare earth or natural ground are neither flat enough nor stable enough.
- Levelness: a difference of more than 1 cm over 2 m can compromise assembly.
If the unevenness exceeds this, the panels will not line up properly, the doors will rub, and the structure will lose stability. Hence the importance of a well-drained base built up layer by layer.
Creating a well-drained base
First, remove the topsoil to a depth of 15 to 20 cm, clearing away roots and debris to reach a more stable layer. The following layers are then laid in this order:
- Compaction of the base: use a hand tamper, or a vibrating plate for large areas, to prevent differential settlement.
- Drainage layer: 10 cm of compacted 20/40 mm crushed gravel, which improves load-bearing capacity and prevents capillary rise.
- Geotextile: a permeable fabric laid over the drainage layer, with a 20 cm overlap between the strips.
The geotextile prevents soil from rising whilst allowing water to drain through. Once this base is ready, the next step is to choose the support structure for the metal shelter.
Concrete slab or alternative supports
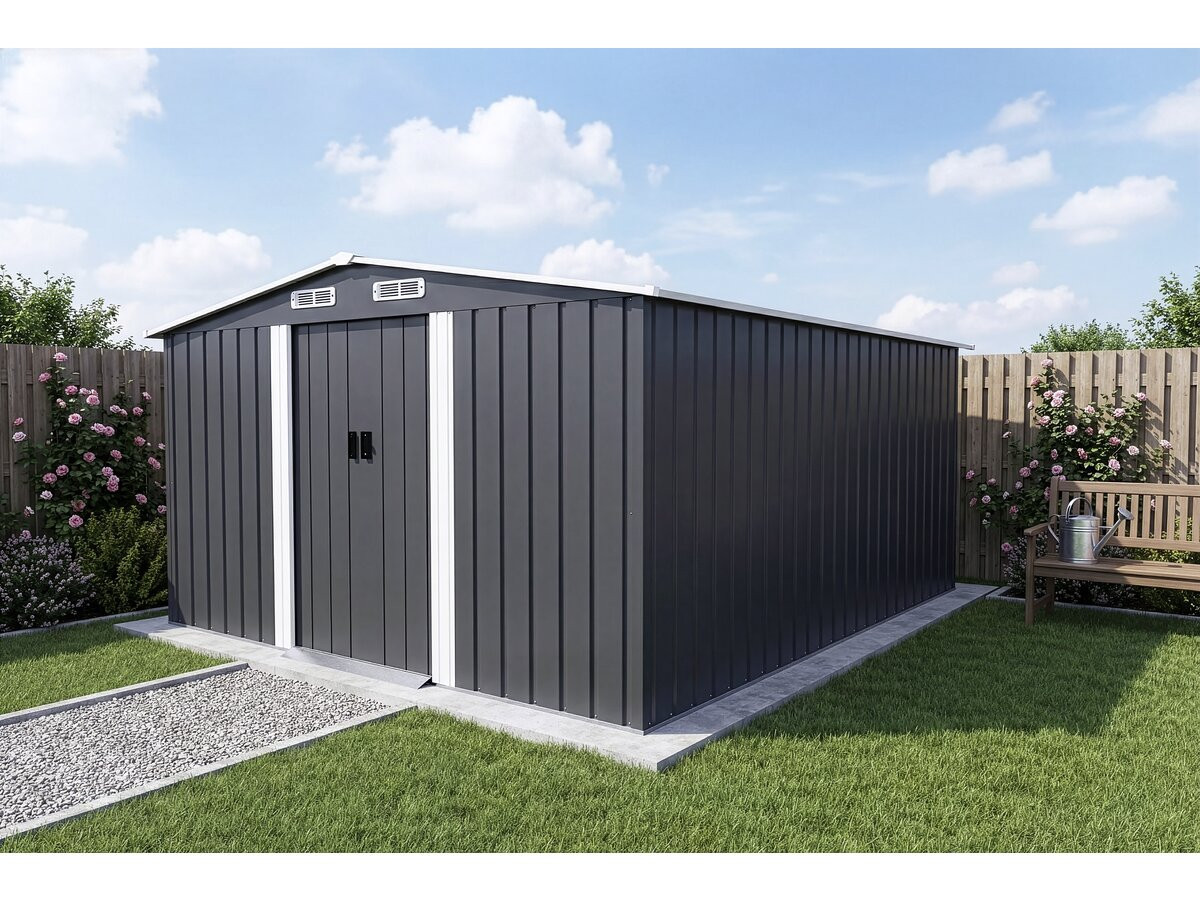
To pour the slab, Habitat et Jardin recommends a minimum of 10 cm of concrete, and preferably 15 cm for a heavy shed. It may extend beyond the shed’s footprint by 30 to 50 cm on each side, unless the manufacturer specifies a precise layout. Allow 48 hours before walking on it and 2 to 3 days before removing the formwork. Wait approximately 4 weeks before final installation.
Depending on the model, other types of foundations may be suitable. A small shed can then rest on concrete blocks, spaced every 80 to 100 cm in each direction, or on a flat, anchored wooden floor, which will need to be treated every 2 to 3 years.
Anchoring the shelter against the wind
Although a concrete slab ensures the stability of the base, it is not sufficient on its own to hold a lightweight structure in place. Anchoring addresses another risk – the structure being blown away – and should be chosen according to the site’s exposure and the chosen foundation.
Assessing wind risks
Without suitable fixings, a lightweight metal shelter may slide, become partially lifted or be destroyed during strong gusts. According to Météo-France, gusts are sudden increases in instantaneous wind speed, the effects of which vary depending on the terrain and any obstacles. Wind acts in three ways:
- Thrust: direct pressure on exposed walls.
- Suction: an upward force on the roof.
- Stress on fixings: repeated tension at each anchor point.
You should therefore assess the exposure of your site: proximity to a hillside, a summit or a wind corridor. The more exposed the site, the more robust the anchoring must be.
Securing to a concrete base
When securing a metal garden shed to the ground, the manufacturer’s instructions take precedence: the base plates and fixings for one model may not necessarily be suitable for another. Position the base frame, then mark a point every 50 to 80 cm around the perimeter. Drill holes using a 10 or 12 mm concrete drill bit, to a depth of 8 to 10 cm, and clean out the holes. Then gradually tighten the wall plugs, wood screws or bolts, alternating between them to avoid warping the frame.
Adapting the anchoring to the substrate
On concrete blocks or wooden decking, reinforced brackets made of galvanised or stainless steel are fixed to the joists or blocks, then bolted to the frame. In loose or exposed clay soil, helical anchors 60 to 80 cm long, connected by steel cables or threaded rods, reinforce resistance to up-ripping.
An anchoring system prevents uplift but is no substitute for a compacted foundation: wedges at the four corners do not correct any settlement. The stated wind resistance ranges from 18 m/s (approximately 65 km/h) to 96 or 147 km/h. Compare these figures for the same test protocol, support structure and anchoring system, distinguishing between average wind speeds and gusts.
How to successfully assemble a metal garden shed
Once the support structure is ready and the anchoring in place, assembly mainly requires a systematic approach: check the kit, assemble the frame using the brackets, then take care with the roof and finishing touches.
Check the kit
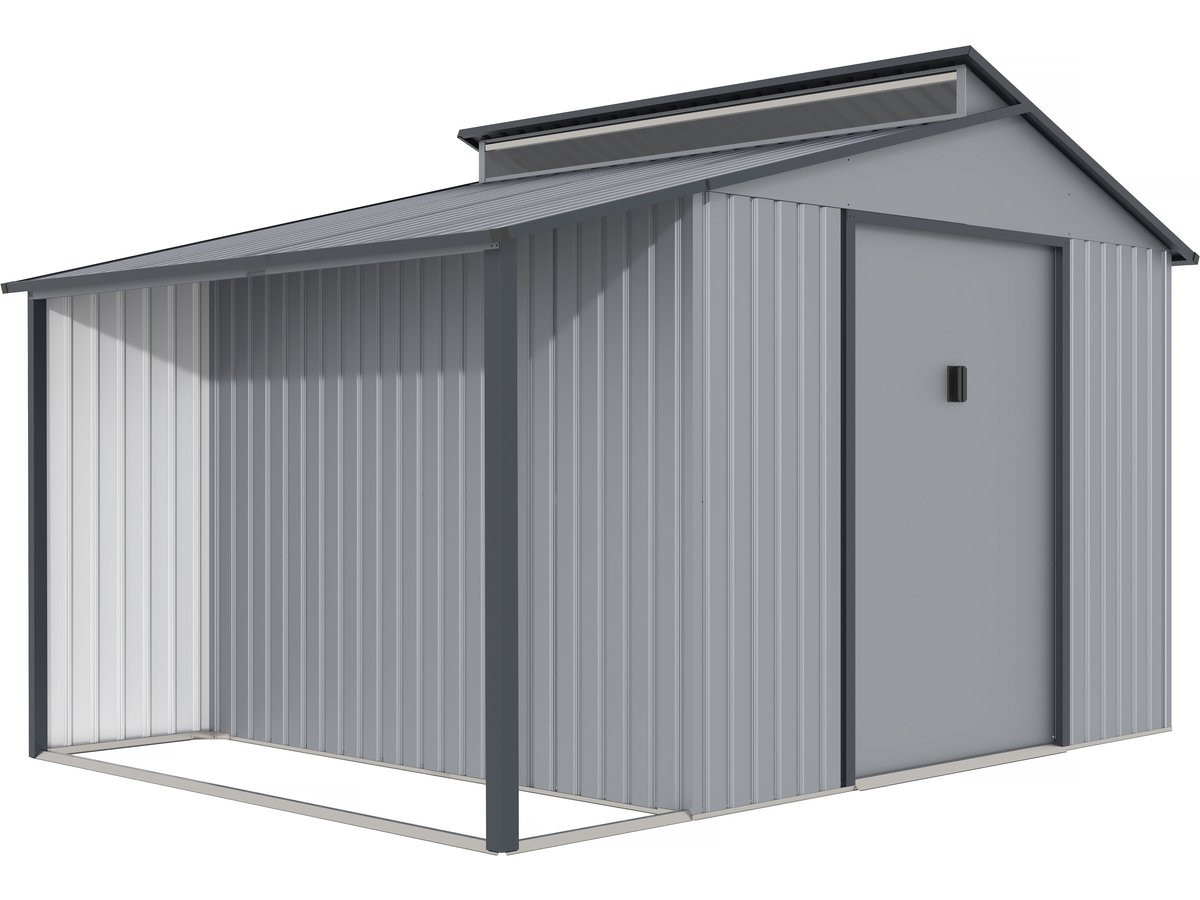
A kit generally includes panels, the frame, fixings and instructions, but the floor is often missing from models sold in France. Sort through the parts, check that they are all present and gather the required tools, as a single missing component will halt the entire assembly process.
Videos help you visualise the steps involved in assembling a metal garden shed, though they are no substitute for the instructions regarding reinforcements and anchoring points. The product description for the Dallas metal garden shed, for example, states that a concrete anchoring kit is included.
Assembling the structure
When assembling a metal garden shed, you must wear gloves, as the edges of the panels can be sharp. The standard procedure follows a bottom-up approach:
- Lower frame: fitted first, this serves as a reference point for the entire shed.
- Framework and panels: fitted without being permanently secured.
- Bracing and roofing: these stiffen the entire structure.
- Doors and fittings: fitted before the final check of the fixings.
Before drilling any permanent holes, measure the two diagonals of the frame, check that the four corners are level, and position the first panels without securing them.
Permanent fastening should only take place after alignment: if done too early, it prevents the structure from being squared up and causes the doors to become misaligned.
Finalising the installation
The panels must remain vertical and comply with the required overlaps, using clips and wing screws on certain galvanised steel shelters. The roof is subject to water ingress and wind loads: check the overlaps, screws with sealing washers and the eaves. Lower and upper ventilation grilles help to minimise condensation, provided that vegetation is kept at least 50 cm away from the walls.
Then, touch up any scratches and cut-outs straight away with an anti-rust treatment. A gentle wash and a light polish will minimise tarnishing, ensuring another season without major maintenance. Other models are featured in the range ofmetal garden sheds on the website.
Allow time for installation
The total time required depends as much on the foundation work as on the assembly itself, and the preparation often takes longer than the assembly itself.
Estimate the time required
Each stage takes a different amount of time, depending on the condition of the ground, accessibility and the chosen foundation method:
- Site preparation: from 4 hours to 3 days.
- Pouring concrete: approximately 2 to 4 hours, excluding curing time.
- Assembly: approximately 3 hours for two people for a small shelter, 4 to 8 hours for a model measuring 5 to 10 m².
Details of these steps, covering all materials, can be found in the guide to assembling and installing a shelter.
Assembling alone or in pairs
The time required increases with the surface area and complexity of the model. The difference often comes down to these factors:
- 10 to 15 m² model: 8 to 12 hours’ assembly time.
- Large or complex model: approximately 8 to 16 hours.
- Options: double doors, windows, added flooring or a large number of screws.
- Conditions: ground to be levelled, wind or complex assembly instructions.
Working in pairs is still preferable: with two people, you can handle the panels more easily, align them better and minimise the risks associated with sharp edges.
Hiring a professional
A fully equipped professional can usually assemble the shed in a day, provided there is no major ground preparation required. The concrete slab or base required for the model must be ready before they arrive.
There are no regulated rates for this service: the price depends on the area, accessibility, ground conditions and any optional extras. Habitat et Jardin offers a home assembly service; the terms and conditions of this service should be discussed with an advisor.
Frequently Asked Questions
Can a tenant install a metal garden shed?
Yes. Since 28 November 2025, a tenant may apply for planning permission with the landlord’s written consent. Without this consent, the landlord may, depending on the circumstances, require the site to be restored to its original condition at the tenant’s expense.
Is a demountable metal garden shed exempt from planning permission?
No, the fact that it is removable is not the main criterion. The regulations take into account, in particular, the shed’s surface area and footprint.
Do you need to consult an architect to install a metal garden shed?
Only if the shed increases the building’s total floor area to more than 150 m² following the work. In this case, it is compulsory to engage an architect.