Your cart
There are no more items in your cart
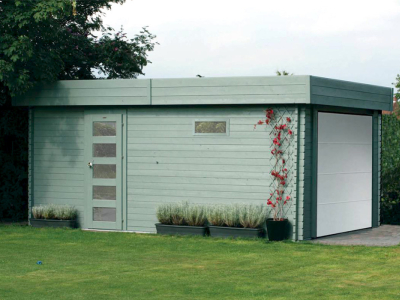
Wooden garage – Assembly
Categories :
Practical Guides
, Sheds & Garages
, Wooden garage
Wooden garage – Frame, openings and roof
Assembling the frame
The assembly of the timber garage must follow these steps:
- Start by marking out the area where the timber garage is to be built, ensuring that it is higher than the surrounding ground to prevent any accumulation of rainwater. Its footprint must not be the same as that of the garage you have ordered. An additional 50 cm on all sides is required for protection and maintenance. You must dig down 20 to 25 cm and install a drainage system (to carry away seepage water). The excavated area is then surrounded by wooden formwork, filled with a first layer of coarse-grained gravel (tamped down) and covered with a polyethylene (plastic) membrane to prevent rising damp. If the garage is not intended solely for vehicles, do not forget to lay the necessary pipework for future installations (water, electricity, telephone, waste water, etc.) between the two layers of concrete. The wooden studs must be securely fixed in place before the slab is poured. The screed should be levelled using an aluminium straightedge and a spirit level. Laying bituminous felt on the levelled surface is an optional extra.
- After 2 to 3 weeks (the slab’s curing period), work begins on assembling the base frame of the timber garage. The panels forming the rear and front walls must be slotted together and screwed to the four uprights set in the slab. Next, complete the installation of the panels forming the two side walls and the partitions by screwing them to the front and rear uprights using jointing strips. Once the frame is erected, you move on to fixing the floor (wooden panels, concrete blocks, etc.). This first stage is completed by fitting the window(s) in their correct positions on the side panels. Even if the instructions are clear, it is advisable to seek help from a very skilled DIY enthusiast or a professional in the building, joinery or carpentry trades.
Fitting the openings and the roof
Fitting the openings
Start by fitting the door (with the handle attached) onto the designated threshold of the timber garage. To ensure it is stable, place it on wedges. After checking that it is level using a square and a spirit level, secure the frame by screwing in one of its upper brackets.
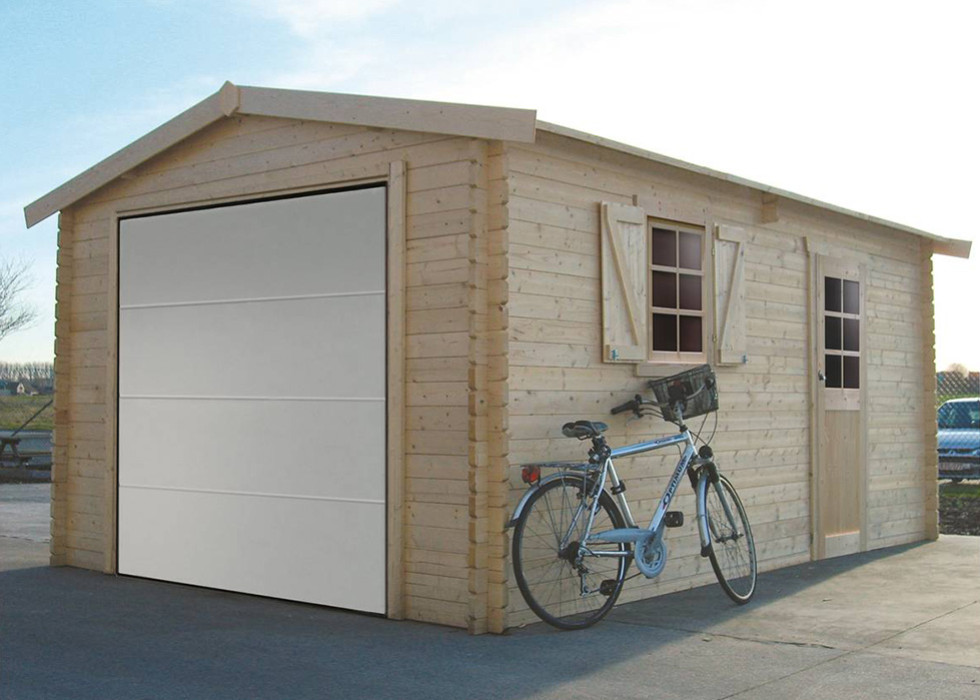
- Fitting an up-and-over door: After checking that the open door is level and horizontal, proceed to fix the guide rails (using a square and a plumb line to check for horizontal and vertical alignment) to the ceiling and wall. If everything is working correctly, proceed to the final tightening.
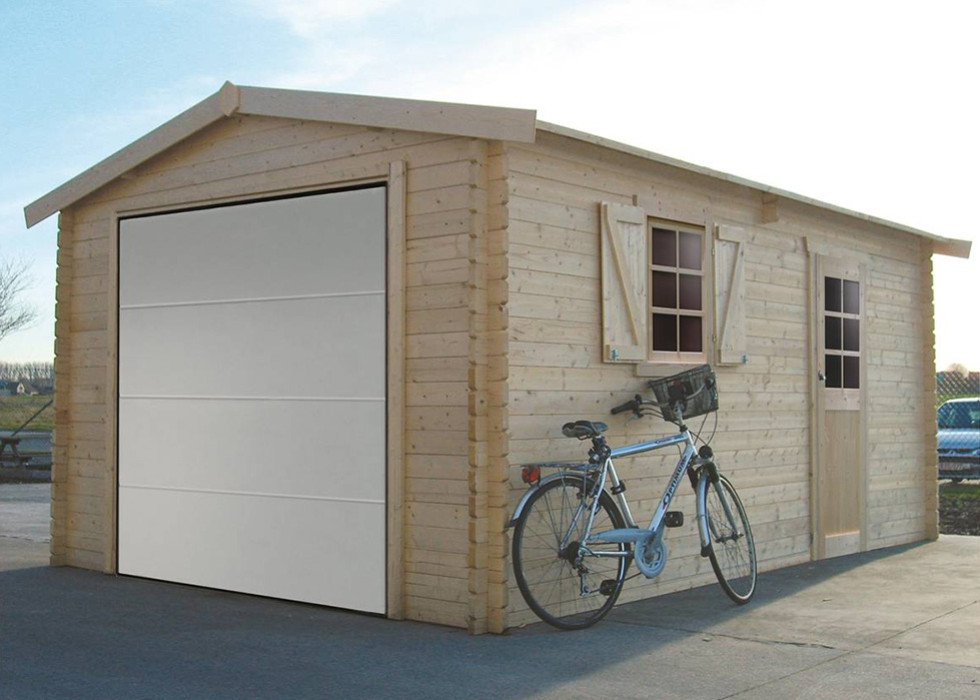
- Fitting a sectional door: After checking that the door is square and plumb, fix the guide rail in place. The springs must be tensioned manually, bearing in mind that they are at maximum tension when the door is closed and at minimum tension when the door is fully open. If they operate correctly, this confirms that the door is square. You can then proceed to adjust the side rollers, operate the motorised door and apply a sealant between the door frame and the surrounding panels.
- Fitting a sliding door: use a spirit level to position the guide rail horizontally on the garage wall. After assembling the hinged panels, adjust the rollers. Finally, secure the guide blocks to the floor after ensuring they are all at the same level.
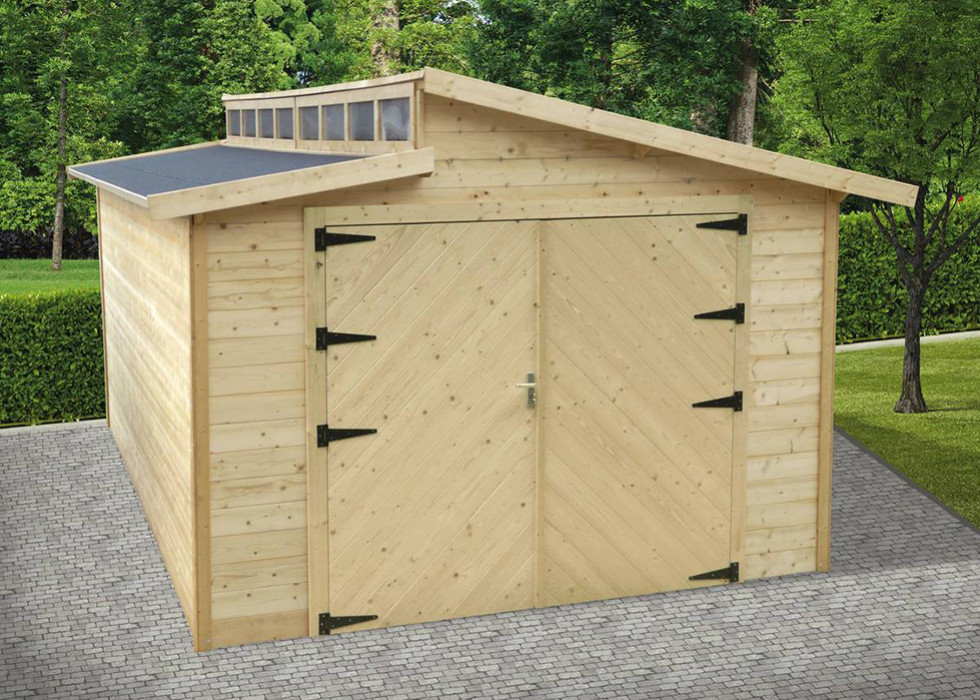
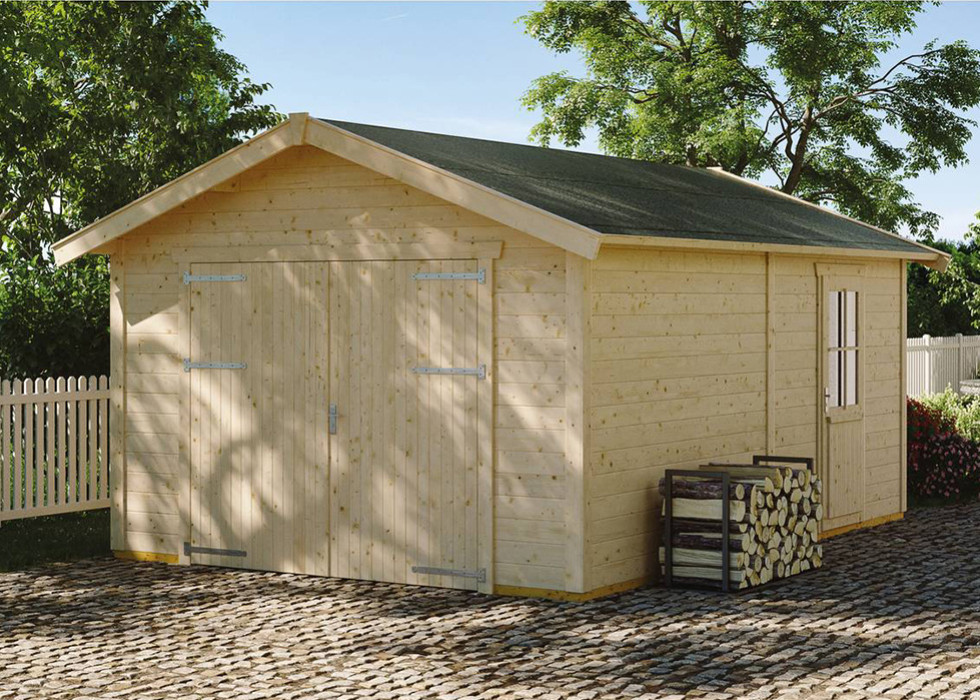
- Fitting a French-style swing door: start by screwing the hinges onto the door, then position it in place. To ensure it is properly aligned with the front of the garage, place it on wooden wedges and check that it is level and plumb. The hinges can be set in cement or fixed with wall plugs. Once dry, remove the battens, wall plugs and shims, and finish by fixing the stops in place.
- Wooden folding garage door: this type of garage door can only be installed by two people. Start by cleaning the floor, then ensure the two door panels are aligned with their respective openings by measuring on both sides and screwing in three brackets (on the sides and the threshold). The door panels are adjusted by shimming, tightening and loosening the nuts (top and bottom) to eliminate any friction. We finish by sealing the gaps using acrylic silicone or other products (polyurethane foam, etc.) to fill any gaps and bond the frame to the panels. As with assembling the framework, it is advisable to seek assistance from a very skilled DIY enthusiast or a professional in the building, joinery or carpentry trades.
Roof assembly
Fitting the roof of a timber garage using screws, bolts and wide-headed nails is divided into four stages:
- To fit and secure the gables to the top of the front and rear walls, the load-bearing purlins (cross-beams) are fixed to the supporting pillars (bolts) within the gable recesses (posts). Allow for an overhang of 20 cm on both sides of the garage. The cross-purlins are then screwed onto the load-bearing purlins. The fascia boards (battens) are fitted using galvanised timber connectors. These boards must be screwed together and to the load-bearing purlins at the cross-joints.
- The six fascia boards are fixed in place to allow for the installation of the gutters. The roofing material (OSB boards, shingles, tiles, slates, steel sheets, etc.) is installed by fixing it to the battens at 20 cm intervals. The waterproof roofing material must overlap the rain batten (battens) by 2 to 3 cm. At the bottom of the roof, the finishing battens must be covered with roofing material, with an overlap of approximately 1 cm. At both the front and rear of the garage, the extra 4 cm of roofing felt is folded back over the boards. Tiles can be laid on rafters and battens. Here too, the help of an experienced person is invaluable.
Wooden garage – Insulation
Insulation materials
The thermal insulation materials used for a timber garage can be classified into the following five groups:
- Fibres of mineral, plant or animal origin are the best known. These include rock wool and glass wool. Next come wood wool, flax wool, hemp wool and sheep’s wool. Synthetic materials include polystyrene (two varieties), polyester and polyurethane. Their effectiveness cannot mask their toxic effects, which vary in severity.
- Mineral insulation materials are less common on the building materials market. The most commonly mentioned are perlite, vermiculite, expanded clay and cellular glass. Other renewable materials include cellulose (paper pulp, etc.) and cork, which are of plant origin (cork oak forests, etc.). Thin insulation materials, also known as ‘reflective’ or ‘thermal reflectors’, are sold in rolls, panels, granules, felt or loose form.
Internal insulation
To reduce its energy consumption, a timber garage can be insulated from the inside. This is the least expensive option. The walls and floor account for one-third of total energy losses. They can be covered with adhesive-backed insulation rolls or panels without hindering the closing of doors and windows (thin insulation materials, etc.).
The cost of insulating wooden garage doors is minimal, as insulation is one of the key qualities of wood. PVC or steel doors come fitted as standard with polyurethane or polystyrene between the two panels. Insulating the inside of the garage by sealing gaps to reduce thermal bridges will yield good results.
External insulation
This involves covering the walls and roof of the wooden garage from the outside with high-performance insulation. This option, which is very popular in Germany, provides a radical solution to the problem of thermal bridges. The weakness of internal insulation lies in the presence of the guide rails. . .). Thermal inertia will, in any case, be better.
However, external insulation does have some drawbacks. Excessive temperature rises can cause problems. Fitting a protective rain screen for certain materials (loose-fill insulation, sprayed insulation. . .) can complicate the installation process and incur additional costs. The benefits of insulation naturally depend on how the timber garage is used.
Copyright protected under Articles L. 111-1 and L. 123-1 of the Intellectual Property Code.